Class Roster with Fast Message
my.UChicago allows you to pull up a class roster and send an email to selected or all students in a class.
In the Student Services WorkCenter, click on the Academics tab, and in the Report Pages section, click on “Class Roster w/ Fast Message.” Search for the class and click on the offering you want to look up. Note that all sections of a class are available, including lectures, labs, discussions, etc.

After you have selected the class, the class roster will display:
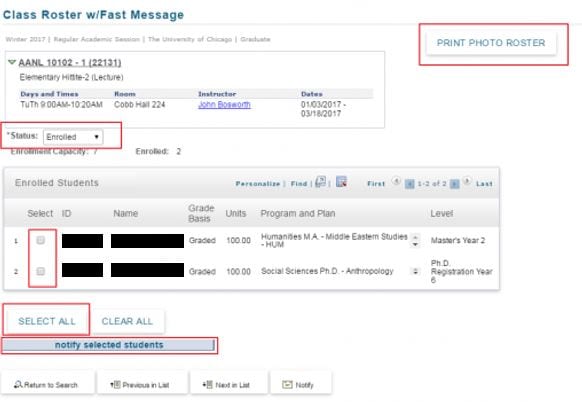
This view includes:
- A button to generate a PDF photo roster.
- Class and instructor information:
- Instructor name(s) are clickable email links.
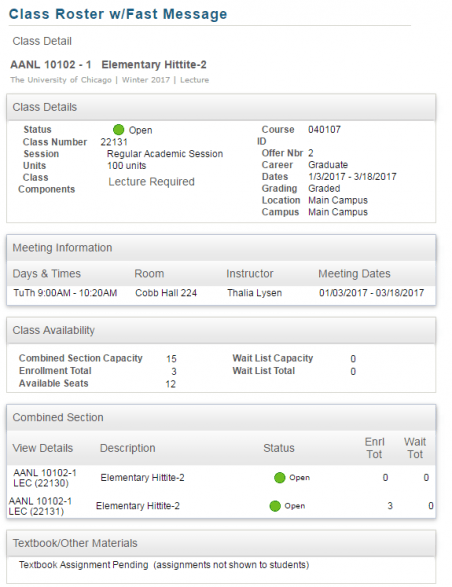
- Clicking on the Class Name will give you more details:
- A status dropdown to select all enrolled or only graduating students.
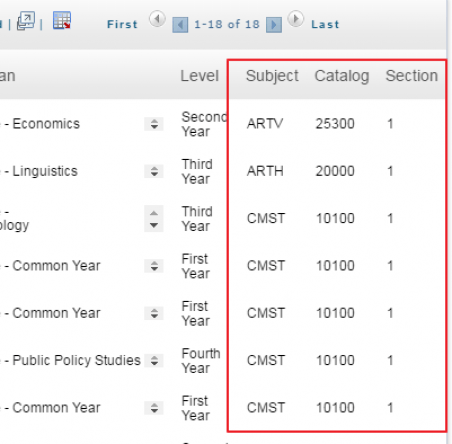
- Information on the students enrolled. Note: if the class is crosslisted, there will be additional columns that show the class the student is enrolled in
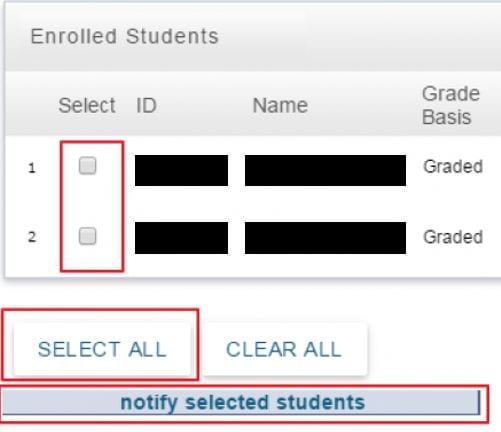
 To email the class, either select individual students or click “Select All.” Then click “Notify Selected Students”:
A compose message window will open. The instructor(s) will be cc’d by default; students are bcc’d. Note: If you want to update the “From” email address, please contact the Registrar’s Office. Enter the Subject and Message Text. You can check your spelling by clicking the book icon to the right. When the message is ready, click “Send Notification.”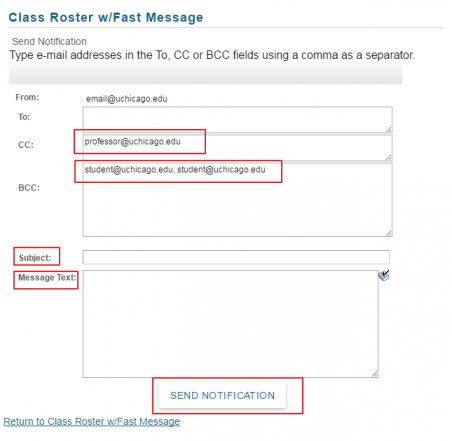 You will see a confirmation screen if the message was sent successfully.