Managing Service Indicators
Service Indicators can be managed individually, but the instructions below can be used to either place or release a significant number of them. The pages to manage Service Indicators can be found in the Student Registration WorkCenter.
Note: You must have row level security for the Service Indicator(s) you plan to place or release. If the Service Indicator you’re looking for does not appear in the look-up on the page, or if you have questions about Service Indicators, please contact the Registrar’s Office.
Save the EMPLIDs of the students you want to apply the SI to in a .txt or .csv file (make sure EMPLID is in the first column if using .csv): Note that the same parameters will apply to a single batch, so students you are performing this action on should all have the same SI start date, term, etc.
If there is variation, repeat these instructions with each applicable group.
In the Student Registration WorkCenter, in the “Service Indicator and Groups” section, click Mass Assign: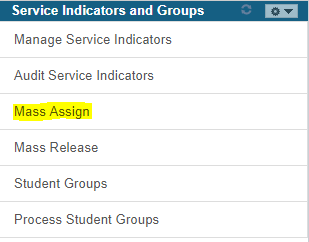 If this is your first time performing this action, add a new value for the run control, otherwise find an existing value:
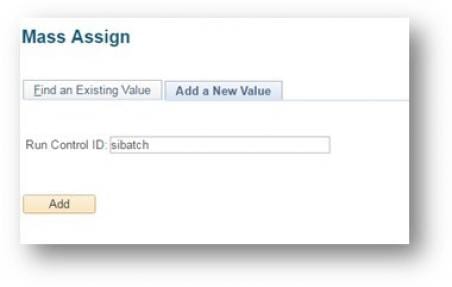 For selection tool, select “External File”. When prompted, upload your .txt or .csv file. For File Mapping, select SI_EMPLID_ONLY.
To make sure this worked, click Preview Selection Results to see which EMPLIDs this will be applied to.
Keep The University of Chicago as the institution, and select the appropriate SI code and reason.
Enter Start Term, End Term, Start Date, and End Date, as appropriate.
Note: for Service Indicators that block enrollment, the start term should be the term when you want privileges such as library access to be affected. The start date is typically the placement date.
If desired, enter Comments (these will not be visible to the student, but will be viewable to any staff member that can view SI details). Click Run.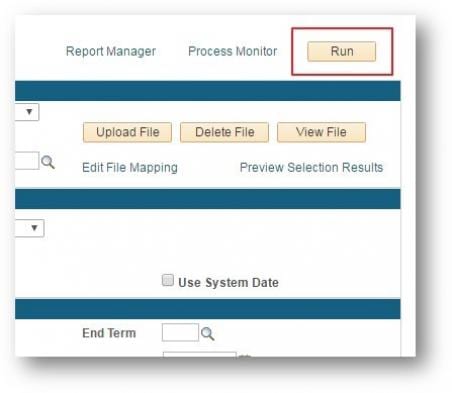 Select the checkbox SCC_SI_ASSN and click OK:
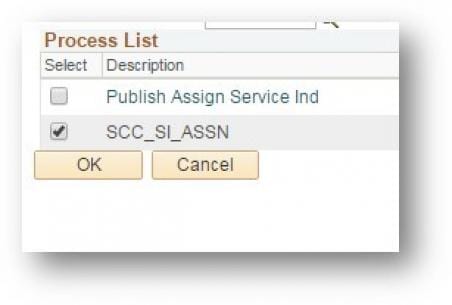 You will be taken back to the Mass Assign screen. To see progress, click “Process Monitor” in the upper right.
Click Refresh until the SCC_SI_ASSN process’s Run Status is “Success” and the Distribution Status is “Posted”.
 The students in your file should now have the SIs assigned to them in the way you specified.
To perform a Mass Release, follow the same process, but on the Mass Release page (note that “Effective Period” data is not required on the Mass Release Page).