Student Requirements
Student’s can have multiple Requirements associated with their academic record. You can use these pages to track specific requirements; including dates completed, grades/numeric scores, and examining faculty.
Accessing Requirements
You can access the Requirements page through the Student Milestone Overview page or Graduate Advisor Workcenter.
Student Milestone Overview page

Once the Student Milestone Overview page opens, click on the Edit Requirements link above the Requirements pagelet.
Graduate Adviser Workcenter
To access Requirements through the Grad Adviser Workcenter, click on the link to the workcenter within the Academic Overview pagelet.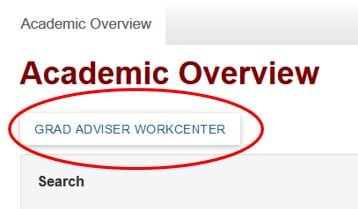
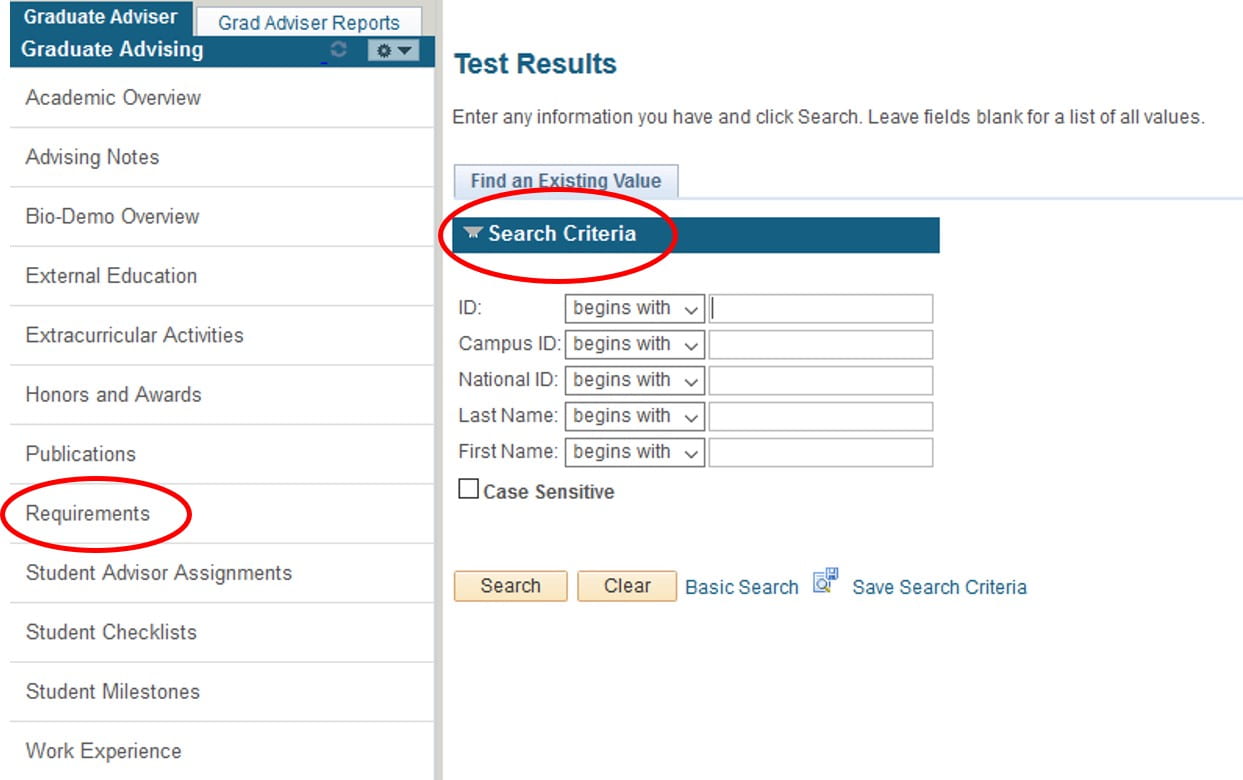
Once the Grad Adviser Workcenter opens, on the left hand side, a menu item labeled Requirements will be available. By using this general link, you will need to use the search criteria to find the student.
Updating Student Requirements
Once students are matriculated, Requirements can be associated to the student’s record. More information on Adding or Removing Requirements can be found below.
Adding Requirements
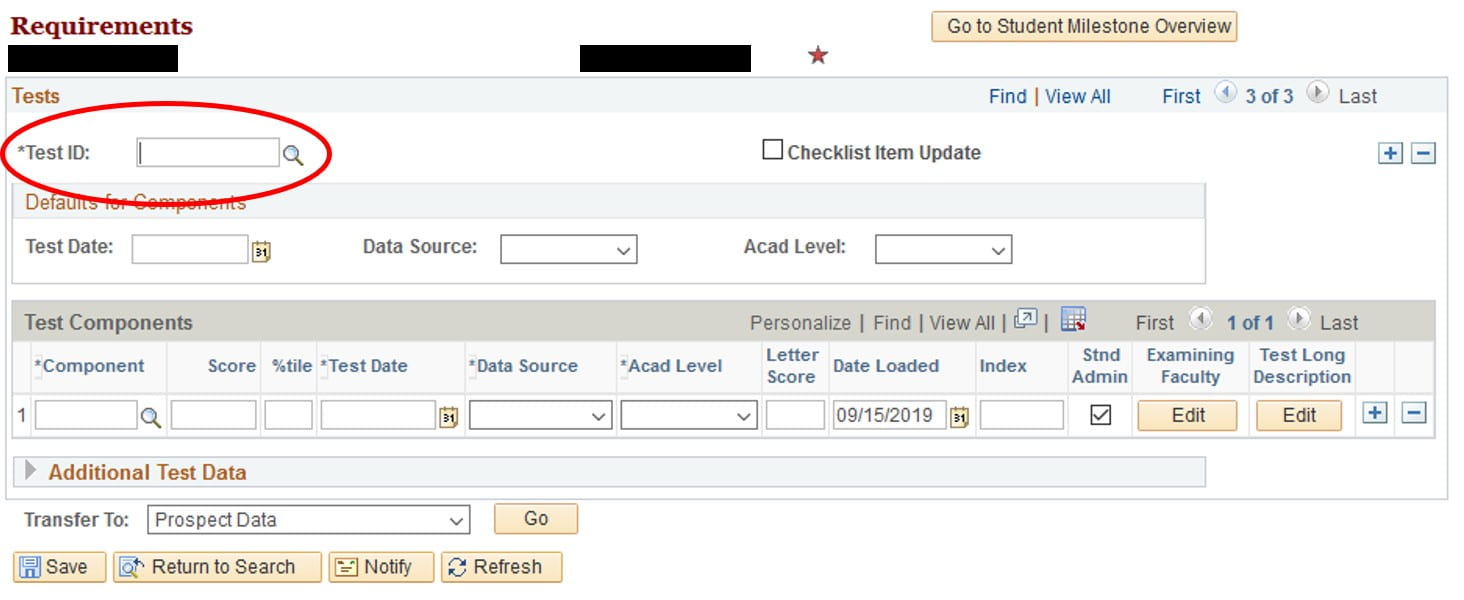
To add a new Requirement/TestID, you can drill into the magnifying glass to look-up the values to which you have access to update. If a Requirement/TestID is already associated with the student’s record and you want to add an additional row to insert the new Requirement/TestID by clicking on the plus (+) sign on the right hand side.

This will allow you to enter in a new TestID/Requirement value
 Be sure that after you make any edits to the Requirements page that you click Save on the bottom left hand side of the page.
Adding Requirement Components
When adding new test components, you will be required to enter in the TestID, Test Component, Test Date, Data Source, and Academic Level. If TestID is already associated with the student’s record and you want to add an additional test component, you will need to add a row to the component section.

Once the new row has been added, you can drill into the magnifying glass to look-up the Test Components that are associated with the TestID value.

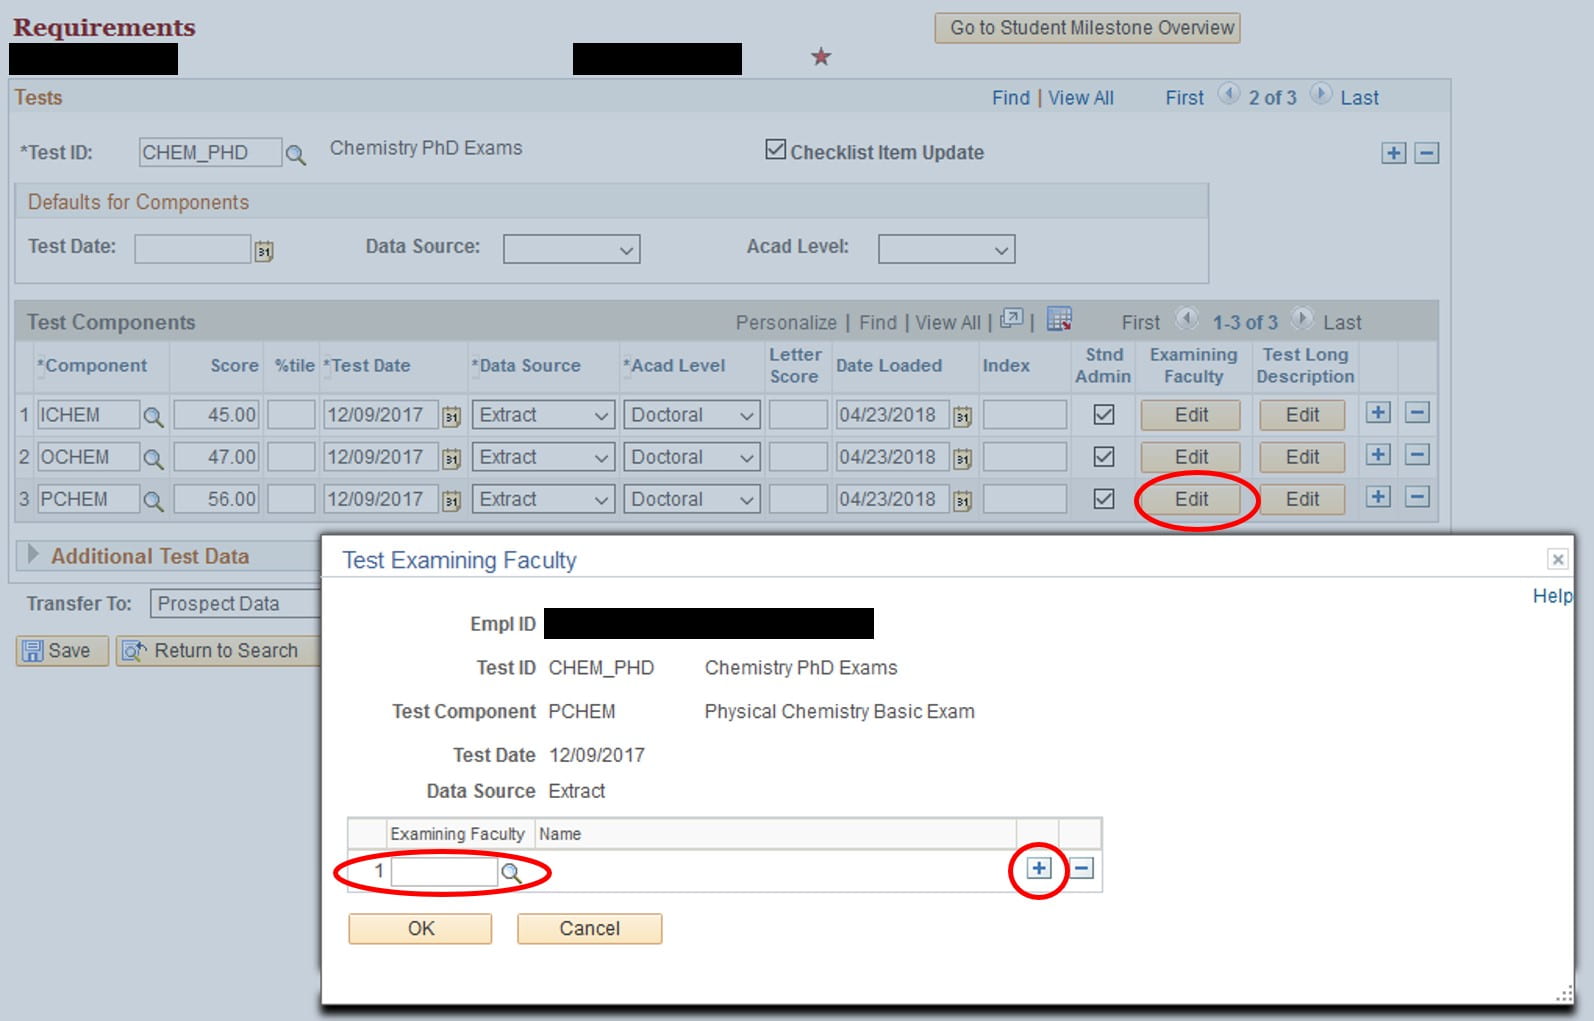
Once the Component is selected, you will need to enter in the Date, Data Source (Extract), and Academic Level (Doctoral). The date loaded field will be populated with today’s date. If there are Examining Faculty associated with the Requirement, Click on the Edit button within the Examining Faculty column. Multiple examining faculty can be associated with one component. Once the faculty information has been entered, click OK to return back to the Requirements page where you will need to click Save.
Removing Requirements
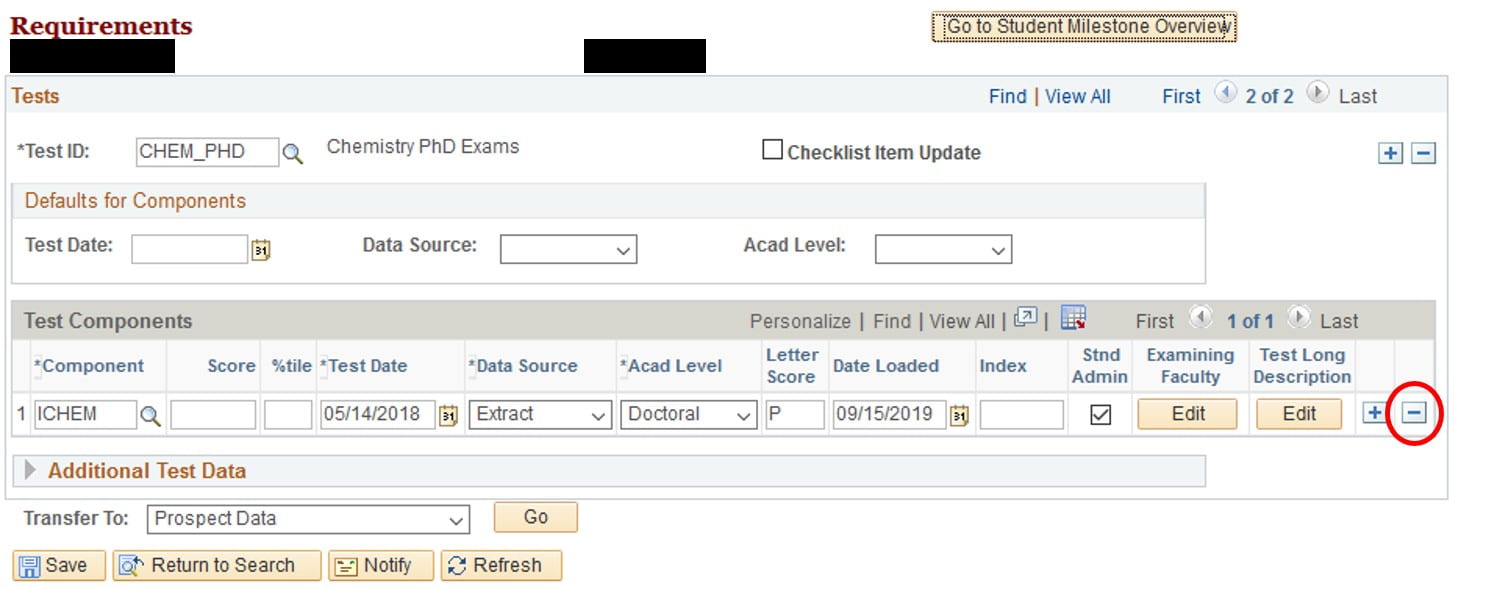
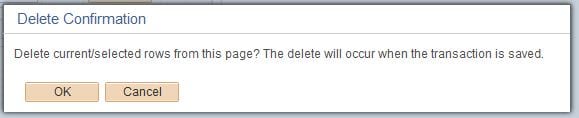
If you find that a student has an incorrect Requirement or Requirement Component, you can remove this information by using the minus (-) sign to remove the row of data entirely. Please keep in mind that once the data is removed, it will no longer be available for anyone to view. After you click on the minus (-) sign, you will receive a pop-up message asking that you confirm the deletion of the current selected rows. Click OK.
Be sure that after you make any edits to the Requirements page that you click Save on the bottom left hand side of the page.
Updating Student Requirement Scores/Grades (Optional)
Once you have updated the students record with the appropriate Test ID’s and Test Components, you have the option to enter in a numeric score and/or letter grade that would be associated with individual Test Component. The grading information, whether numeric or letter, will be visible by the student on their My Milestone page.
Adding Numeric or Letter Grades to Test Components
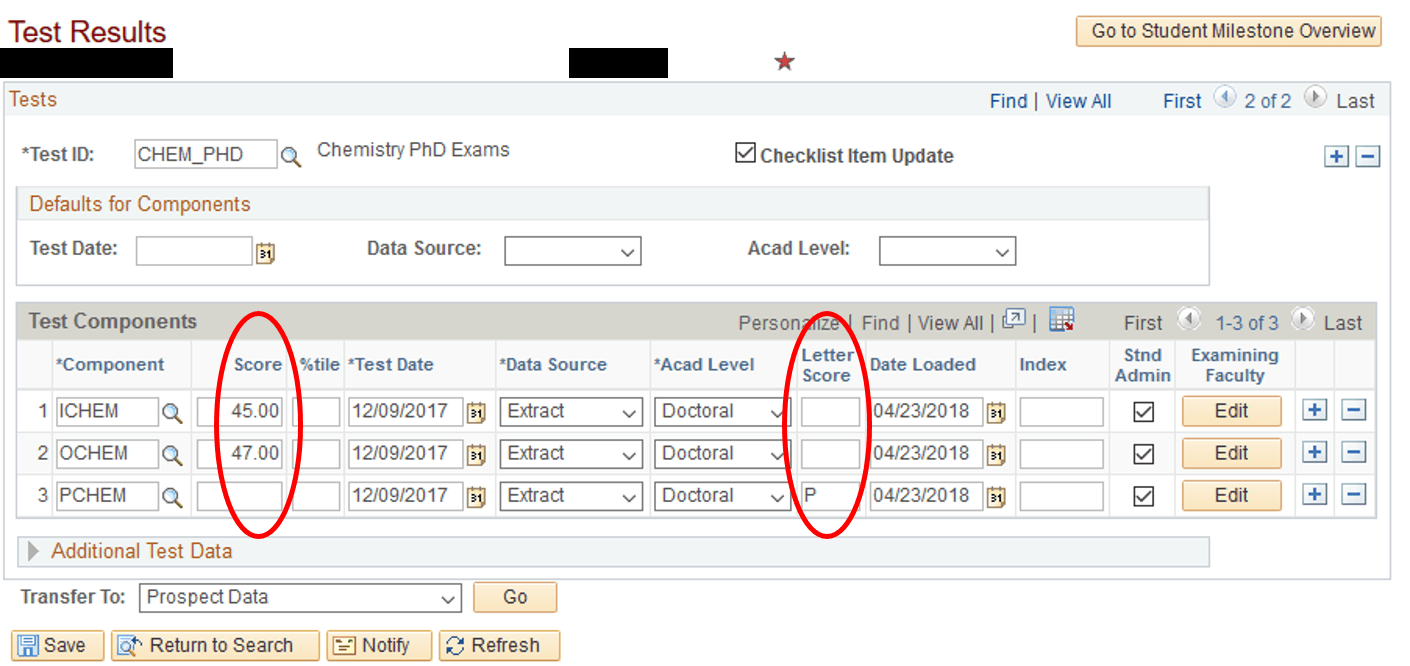
Next to each individual component, you will see a column titled Score and another one titled Letter Score. These fields are free format fields so you can enter in a desired numeric grade or letter grade respectively.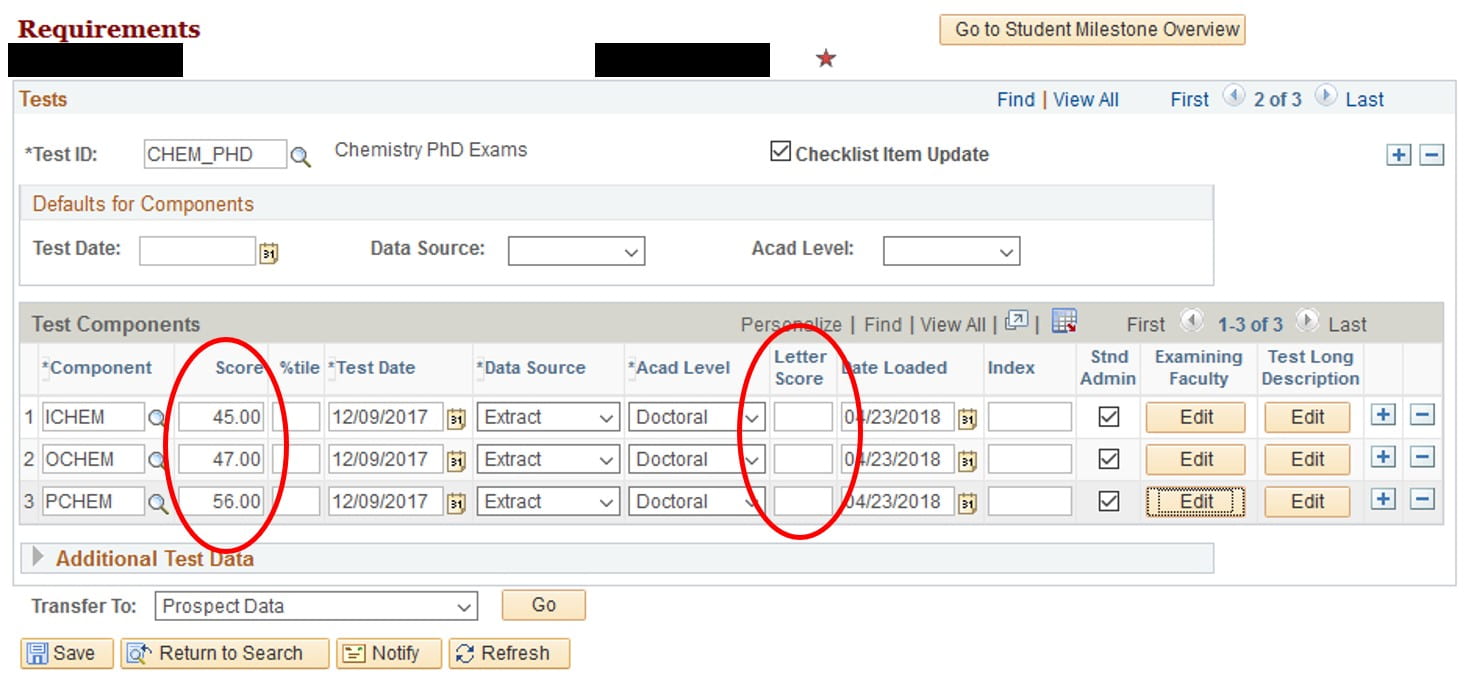
Be sure that after you make any edits to the Requirements page that you click Save on the bottom left hand side of the page.